10 Tips for Stunning Food Photography: Capturing Culinary Art
Food photography is an art that requires not only technical skills but also an understanding of how to make the food look its best. Here are 10 tips for stunning food photography that will help you capture the true essence of your culinary creations:
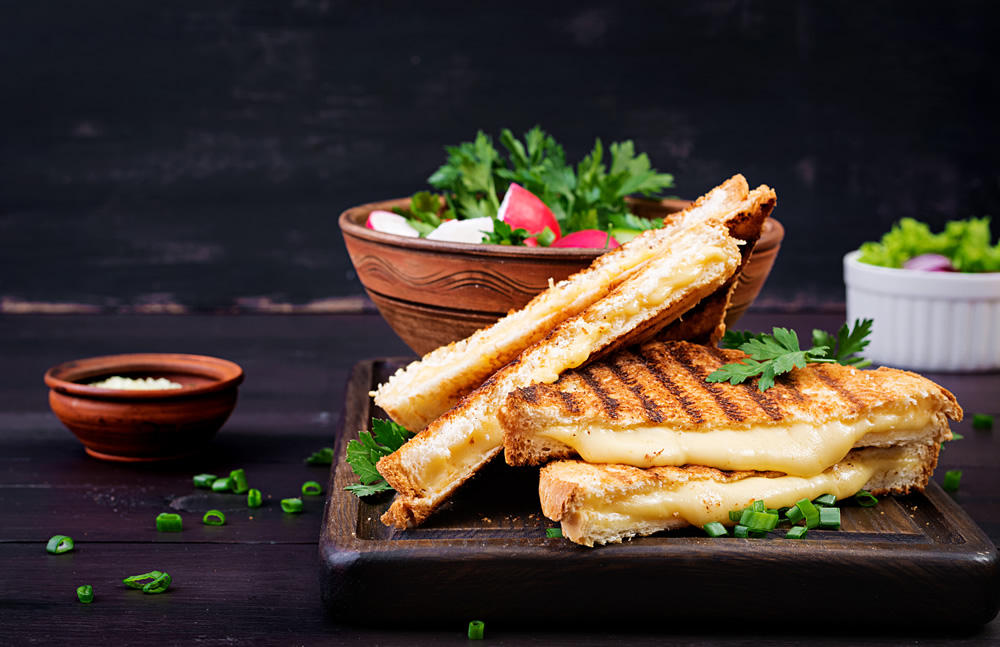
- Lighting is key: Use natural light whenever possible to enhance the colors and textures of the food.
- Choose the right angle: Experiment with different angles, such as overhead or at a 45-degree angle, to find the most flattering view.
- Use props: Incorporate complementary props like utensils, fabrics, or ingredients to create a cohesive scene.
- Pay attention to composition: Follow the rule of thirds and use negative space to create balance in your shots.
- Edit thoughtfully: Post-processing can enhance your images but keep it natural – avoid over-editing.
One essential aspect of stunning food photography is styling the dish properly. Ensure that each element on the plate is intentional and appealing. Here are some additional tips to elevate your food shots:
- Consider the color palette: Use contrasting colors in your dishes and backgrounds to make the food pop.
- Garnish strategically: A sprinkle of herbs or a drizzle of sauce can add the finishing touch to your images.
- Incorporate action shots: Capture the moment of pouring, dripping, or biting to bring the image to life.
- Tell a story: Create a narrative through your images by including context, like ingredients or preparation tools.
- Practice, practice, practice: The more you shoot, the better you'll understand what works for your style and your audience.
The Best Lighting Techniques for Food Photography: Brighten Up Your Shots
When it comes to food photography, lighting plays a crucial role in highlighting the colors, textures, and the overall appeal of the dish. One of the most effective lighting techniques is to use natural light. Position your setup near a window where soft, diffused sunlight can illuminate your subject. Avoid harsh midday sunlight, as it creates harsh shadows that can detract from the dish's beauty. Instead, opt for early morning or late afternoon light for the best results. Additionally, consider using a white reflector to bounce light onto the food, enhancing highlights and reducing shadows.
Another powerful lighting technique involves using artificial light sources, such as studio lights or softboxes. These tools provide greater control over the brightness and color temperature, allowing you to create dramatic effects or achieve consistent results in a controlled environment. By placing the light at an angle to your subject, you can create depth and dimension, making the dish look more three-dimensional and inviting. Remember to experiment with different placements and intensities of light, as this will significantly influence the mood of your food photography and help you capture stunning images that tantalize your audience.
How to Style Food for the Perfect Picture: A Step-by-Step Guide
Styling food for the perfect picture is an art that combines creativity with technique. To begin with, consider the color palette of your dish; contrasting colors can make your food pop and appeal to the eyes. Start by selecting a suitable backdrop that complements your meal. Natural light is your best friend, so try to shoot near a window or outside during golden hour. To elevate your presentation, use interesting serving dishes and props that tell a story about the cuisine you're presenting.
Next, focus on the arrangement of your food. Follow these step-by-step tips for an eye-catching setup:
- Layer different textures to create depth, such as crunchy garnishes on creamy sauces.
- Elevate certain components on small stands or bowls to give dimension.
- Leave negative space around your dish to prevent clutter and allow the food to shine.