Youth Unleashed
Exploring the vibrant voices and trends shaping the youth culture today.
Snap and Savor: Capture Your Culinary Creations Like a Pro
Transform your food photography game! Discover pro tips to snap and savor your culinary creations beautifully. Click to learn more!
5 Tips for Perfect Food Photography at Home
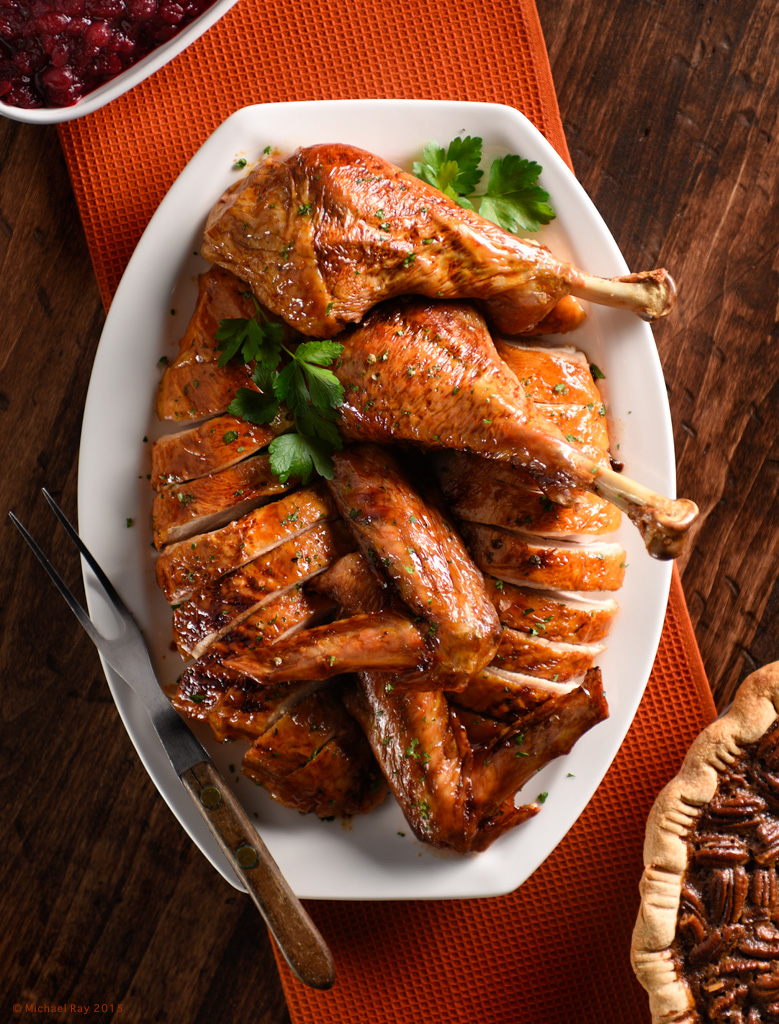
Capturing the essence of your culinary creations requires both skill and creativity. Here are 5 tips for perfect food photography at home that will elevate your images from mundane to mouthwatering. First, pay attention to lighting. Natural light works wonders, so try to shoot during the day near a window. Avoid direct sunlight, which can create harsh shadows. Instead, opt for diffused lighting to help your food look more inviting. Second, consider your composition. Use the rule of thirds, placing your main subject off-center to create a more engaging shot. Don't forget to add elements such as utensils or ingredients to enhance the story behind your dish.
Next, focus on color and contrast. Make sure your dishes are vibrant, and consider using complementary backgrounds to make the colors pop. Fourth, don’t shy away from trying different angles. A top-down view can work beautifully for flat lay styles, while a 45-degree angle is ideal for capturing layers in dishes like burgers or cakes. Lastly, editing your photos can make a world of difference. Use software or apps to adjust brightness, contrast, and saturation, ensuring that your food looks as delicious as it tastes. By following these tips, you'll impress your audience with stunning food photography right from your kitchen!

How to Use Natural Light to Elevate Your Culinary Shots
When it comes to food photography, natural light is your best friend. It can transform a simple dish into a tantalizing masterpiece. To make the most of this resource, choose a well-lit spot in your home, ideally near a window where diffuse light filters in. Morning or late afternoon sun is perfect for capturing the rich colors and intricate textures of your culinary creations. Avoid harsh noon sunlight, which can cast unflattering shadows and wash out colors. If you find the light too intense, consider using sheer curtains to soften its intensity, allowing your food to shine without overwhelming brightness.
Another key aspect of utilizing natural light is understanding its direction. Experiment with placing your dishes at different angles to see how shadows interact with the food. Shooting from the side can create dynamic depth, while overhead shots give a clean, flat perspective. Always remember to pay attention to the background as well; a simple, uncluttered surface will keep the focus on your dish. Additionally, don't hesitate to play with various props and utensils that complement your food while benefiting from the natural light. With a little practice and creativity, you can elevate your culinary shots to a level that truly captivates your audience.
What Camera Settings Work Best for Capturing Delicious Dishes?
When it comes to capturing delicious dishes, the right camera settings can make all the difference. Start with a low ISO setting, ideally between 100 and 400, to minimize noise and enhance image quality. Use a wide aperture, such as f/2.8 or f/4, to create a beautiful background blur that emphasizes your dish. This shallow depth of field will draw the viewer's eye to the food, making it appear more appetizing. Additionally, consider using a slower shutter speed if you're shooting in low light, but be careful to keep your camera steady to avoid blur.
Lighting is equally important in photographing delicious dishes. Natural light is ideal, so try to set up your shot near a window. If you're shooting indoors, experiment with white balance settings to ensure the colors of your food look true to life. A setting like 'Daylight' or 'Cloudy' can warm up the tones, making your dish pop. Lastly, don't forget to compose your shot thoughtfully—use the Rule of Thirds to place your dish off-center, and include interesting props or garnishes to enhance the visual appeal of your food photography.